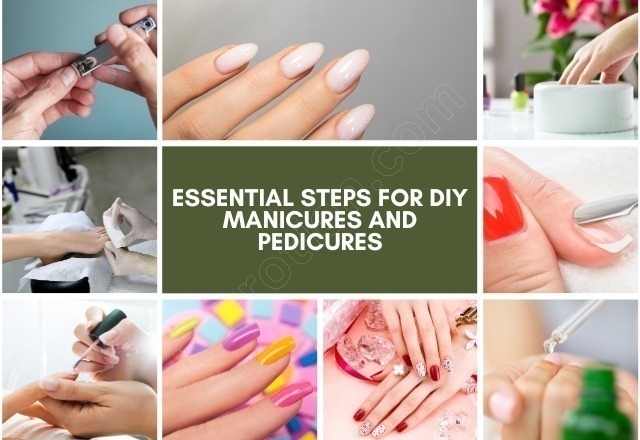
The Ultimate Guide to a Perfect At-Home Manicure and Pedicure
DIY Manicures and Pedicures: A personal manicure and pedicure are great ways to pamper yourself with a relaxing, low-cost spa treatment while keeping your nails looking polished and professional. Achieving a salon-quality finish at home requires the right tools, techniques, and attention to detail. Whether you’re a beginner or looking to refine your skills, this guide covers everything you need to know to achieve the perfect at-home mani-pedi.
Essential Tools and Supplies
Before you begin, gather the necessary tools to ensure a seamless process.
Nail Care Essentials
- Nail Clippers and File – Invest in high-quality nail clippers and an emery board or glass file for precise shaping.
- Buffer – Helps smooth out ridges and creates a polished base for nail polish application.
- Cuticle Pusher and Nippers (Optional) – Push back cuticles gently and trim excess skin, but avoid over-trimming to prevent infections.
Polish and Protection
- Base Coat – A protective layer that prevents staining and helps polish adhere better.
- Nail Polish – Choose shades that reflect your style, with fast-drying formulas for convenience.
- Top Coat – Locks in color, adds shine, and extends the life of your manicure.
- Acetone-Free Nail Polish Remover – A gentler option that prevents excessive drying of the nails.
Moisturizing and Exfoliation
- Moisturizer – Keeps hands and feet hydrated for soft, healthy skin.
- Foot Soak (Optional) – A warm soak with Epsom salts or essential oils relaxes and softens the skin.
- Pumice Stone – Gently removes dead skin from feet for a smooth finish.
Step-by-Step Mani-Pedi Routine
1. Prepare Your Nails
Start by removing old nail polish with an acetone-free remover. Wash your hands and feet thoroughly with soap and water to cleanse any residue.
2. Trim and Shapete (Optional for Pedicure)
Soak your feet in warm water for five to ten minutes to soften the skin and cuticles. Gently exfoliate rough areas with a pumice stone or foot scrub.
4. Buff and Treat Cuticles
Use a buffer to even out ridges but avoid excessive buffing to prevent nail weakening. Apply cuticle oil and gently push back the cuticles with a pusher. If needed, trim excess skin carefully with cuticle nippers.
5. Apply Base Coat
A thin layer of base coat provides a smooth foundation for the polish while protecting the nails from staining. Allow it to dry completely before proceeding.
6. Apply Nail Polish
Apply nail polish in two thin layers, allowing each coat to dry before adding the next. Use light, even strokes to prevent streaks and smudging. If a mistake occurs, dip a cotton swab in nail polish remover and correct it carefully.
7. Seal with a Top Coat
Once the color is dry, apply a top coat to enhance shine and durability. This step prevents chipping and keeps the manicure looking fresh for longer.
8. Moisturize for Lasting Results
Finish by massaging moisturizer onto your hands and feet to lock in hydration. Regular moisturizing helps maintain smooth skin and strong nails.
Important Tips for a Flawless Finish
Maintain Hygiene
Sanitize tools before and after each use to prevent bacteria buildup and infections. Rubbing alcohol or disinfectant wipes work well for cleaning.
Be Gentle with Cuticles
Cuticles protect the nails from bacteria, so avoid cutting them too aggressively. Instead, focus on pushing them back gently and applying cuticle oil regularly.
Use a Base and Top Coat Every Time
Skipping the base coat can lead to stained nails, while skipping the top coat results in faster chipping. Both layers are essential for a long-lasting manicure.
Don’t Over-Buff Your Nails
Excessive buffing weakens nails, making them prone to breakage. A light buff once in a while is enough to maintain a smooth surface.
Hydrate Daily
Moisturizing hands, feet, and cuticles daily prevents dryness, cracking, and brittle nails. Use cuticle oil for added nourishment.
Experiment with Colors and Designs
Manicures and pedicures are a fun way to express your personal style. Don’t be afraid to try bold colors, nail art, or seasonal trends.
Final Thoughts
DIY Manicures and Pedicures : With the right techniques and a little practice, you can achieve a salon-quality manicure and pedicure at home. Set the mood with your favorite music, take your time, and enjoy the self-care process. Beautiful, well-maintained nails are more than just a beauty statement—they’re a form of self-expression and confidence.
Now that you have all the tips and tricks, it’s time to grab your favorite polish and indulge in a relaxing DIY nail treatment. Happy polishing! # DIY Manicures and Pedicures
Click here for more latest Nutrition Updates